NASPi CM4-2.5
Overview
NASPi CM4-2.5 is a member of NASPi family. Click GEEKWORM NAS Family to know more.
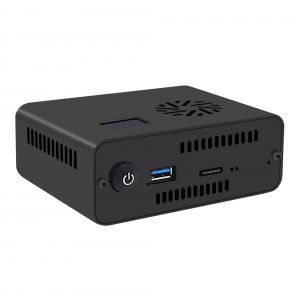
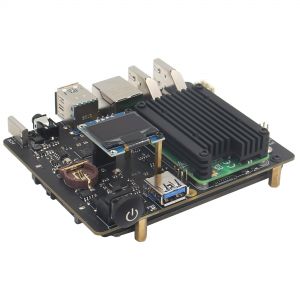
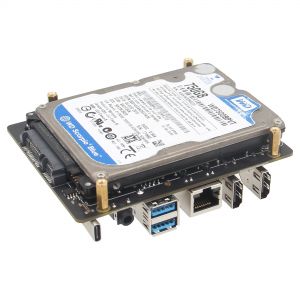
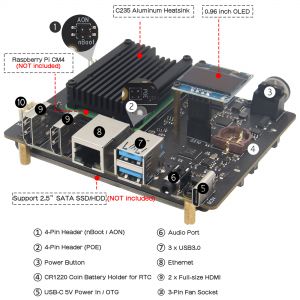
NASPi CM4-2.5 is a NUC-style storage kit based on Raspberry Pi CM4 all series. It supports installing a 2.5-inch SATA SSD/HDD. Its OLED screen can display some information such as CPU temperature and IP address. Also provides 3 USB 3.0 ports and 2 full-size HDMI ports, supports safe shutdown (requires installation script).
Features
- Model: NASPi CM4-2.5
- Compatible with 2.5 inch SATA3/SATA2/SATA HDD/SSD
- Support Max. 9.8mm thickness 2.5" HDD/SSD, you can choose 7mm or 9.5mm thickness HDD/SSD
- UASP supported only for Raspberry Pi CM4, does not support TRIM
- Support software safe shutdown & auto power on & RTC function
- With 12mm aluminum alloy heatsink C235 for CM4 passive cooling
- On-board blue light button switch to control power ON/OFF
- Press button switch to turn on, hold for 1~2 seconds to reboot, hold for 3 seconds to safe shutdown, hold for more than 8 seconds to force shutdown
How to Power
- Power supply: USB-C 5Vdc +/-5%, ≥4A
Recommend to use Geekworm 20W 5V 4A Type-C power adapter PSU20.
How to Cool
- Comes with a 12mm thickness aluminum alloy heatsink C235 cooler for passive cooling of Raspberry Pi CM4, which can satisfy large file copy and video playback application. And it is recommended to replace the thermal pad with CPU silicone grease for better heat dissipation.
Packing List
- 1 x X510 expansion board
- 1 x Aluminum heatsink C235 for CM4
- 1 x 0.96 inch OLED
- 1 x Aluminum Case
- 1 x Assembly Pack
User Manual
- How to installing the Operating System (CM4 without eMMC)? Refer to Official installation tutorial
- How to flash OS onto the eMMC of CM4? (CM4 with eMMC)?
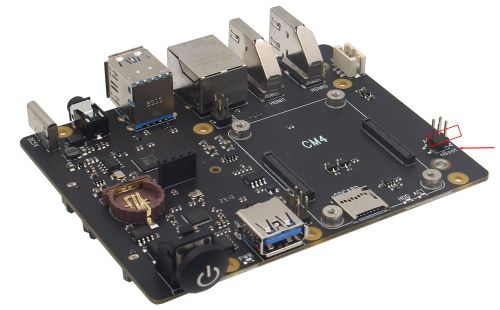
1. Short nBOOT Pin, refer to the picture below.
2. Connect Type-C OTG with a Type-A to Type-C cable to your computer
3. Power the device via PWR Type-C with your 5V Power adaper
4. Then rerfer to this tutorial to flash raspberry pi OS
5. Remove the jumper of nBOOT pin after flashing is complete, then restart your device;
- Power management & safe shutdown script Installation: XScript

Enable comment auto-refresher