IR control guide
IR Control Guide
Introduction
The HIFI DAC/ DIGI expansion board specific for Raspberry Pi. It adopts the I2S interface rather than the USB port.It can build up online HIFI Player with Audio Player System(eg: volumio, xbmc and so on). The two output interface can connect with external Amplifier appliances, which can get rids of big consumption of PC, slowly power on/off, big power noise and so on.
More updated detail please refer to Raspberry Pi IR Control Expansion Board
Tutorial
1. First Preparation: Burn in volumio system and install HIFI expansion board
- Start up Raspberry Pi, and log in via online SSH method. (User: pi password: Raspberry)
- Update and install lirc softwarem, and perform the following command:
sudo apt-get update
sudo apt-get install lirc
2. Edit config.txt and add configuration.
PS: For the those expansion board such as DAC II, DAC+, DiGi+ or Stepper/Motor/Servo Robot Expansion Board SKU:418460, only exist Receiver no launcher, and gpio_in_pin=26 (GPIO PIN)
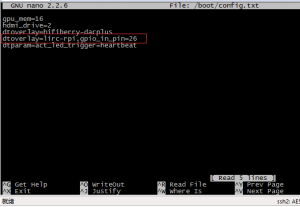
sudo sudo nano /boot/config.txt
Add the following content to config.txt
dtoverlay=lirc-rpi,gpio_in_pin=26
Notice: The volumio version under 1.55 please refer to the below step 2 !!!
2. Edit Modules, and add configuration.
(DIGI NoIR receiver for Raspberry Pi Model B Board=18; DAC+ receiver for Raspberry Pi B+/ 2B Board=26; DIGI+ receiver for Raspberry Pi B+/ 2B Board=26; )
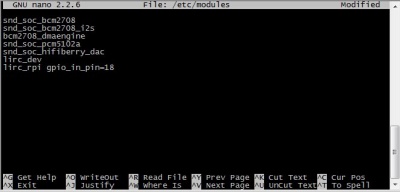
sudo nano /etc/modules
Add the two line content to modules
lirc_dev
lirc_rpi gpio_in_pin=18
3. Edit the LRIC configuration file to realize the NoIR function
sudo nano /etc/lirc/hardware.conf
Revise the following content
LIRCD_ARGS=”–uinput”
DRIVER=”default”
DEVICE=”/dev/lirc0″
MODULES=”lirc_rpi”
Note: The ”–uinput”,means two "-"
4. Perform “sudo reboot” and reboot Raspberry Pi,and enable the NoIR function.
If it shows like the picture that it' s ok.
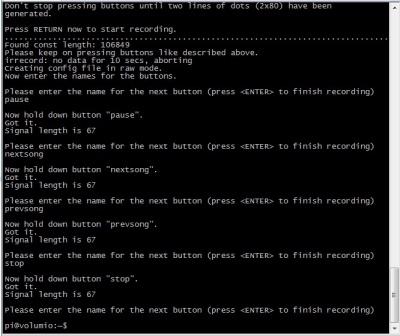
5. Record Button
sudo /etc/init.d/lirc stop
sudo irrecord -n -d /dev/lirc0 ~/lircd.conf
Record the remote controller according to the tips. Record separately"pause", “nextsong”,“prevsong”,“stop”,“volumeup”,“volumedown”\
Cover the relative files about lirc software with recorded ~/lircd.conf file
sudo cp ~/lircd.conf /etc/lirc/lircd.conf
6. Start up lirc software
sudo /etc/init.d/lirc start
7. Review recording and perform the command
irw
Then press the separate recording button
8. Edit “.lircrc”,and perform the command
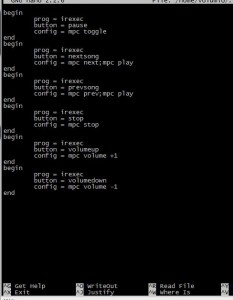
sudo pico ~/.lircrc
Add the content to the file:
begin
        prog = irexec
        button = pause
        config = mpc toggle
end begin
       prog = irexec
       button = nextsong
       config = mpc next;mpc play
end begin
       prog = irexec
       button = prevsong
       config = mpc prev;mpc play
end begin
       prog = irexec
       button = stop
       config = mpc stop
end begin
       prog = irexec
       button = volumeup
       config = mpc volume +1
end begin
       prog = irexec
       button = volumedown
       config = mpc volume -1
end
Note: You could refer to the mpc command, add the button and function you need.(http://linux.die.net/man/1/mpc)
9. Perform the following command to control volumio
irexec -d
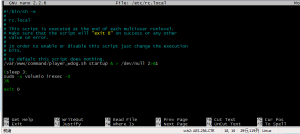
10. Edit file rc.local,make the NoIR function enable when start up volumio, and perform the command
sudo nano /etc/rc.local
Add the content in front of the exit0
(sleep 3; sudo -u volumio irexec -d )&
Exit and save, then reboot to realize the NoIR function.


