Difference between revisions of "X832-C1"
Jump to navigation
Jump to search
(No difference)
|
Latest revision as of 16:32, 30 March 2022
Contents
Overview
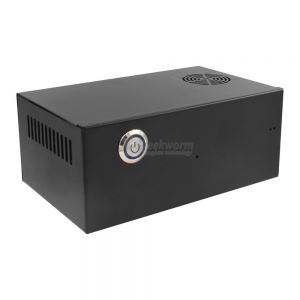
This is a new design X832-C1 metal case with latching power control switch and 2pin 4010 cooling fan specially deigned for X832 V1.2 version, does not support X832 V1.0 version or X835. X832-C1 metal case is released in January 2022.
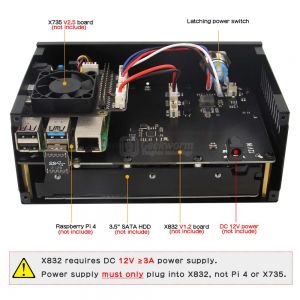
You can use the X832-C1 to install
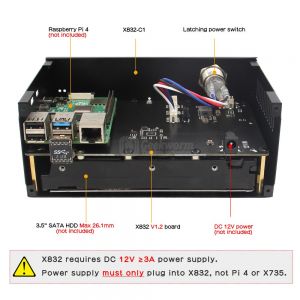
- Raspberry Pi 4 Model B, X832 V1.2 3.5" SATA board and 3.5" SATA HDD
- Raspberry Pi 4 Model B, X832 V1.2 3.5" SATA board, 3.5" SATA HDD and X735 Power Management Board
Note:
- The power control switch in X832-C1 metal case is latching switch.
- The Raspberry Pi 4 Model B, X832 V1.2 3.5" SATA board, 3.5" SATA HDD, X735 power management board and DC 12V Power Adapter are all not included in the packing list.
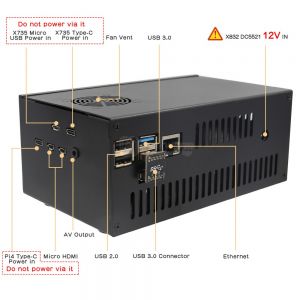
- When use with X735 board, the power supply MUST only be connected to X832 DC 12V IN port NOT X735.
- When use X832 V1.2 with X735 board, please REMOVE the jumper caps on the X832 V1.2.
Features
- Support Max. 26.1mm thickness 3.5" SATA HDD installation, support 17.8mm & 26.1mm 3.5" SATA HDD
- Compatible with X832 V1.2 version only, does not support X832 V1.0 version or X835
- Power switch with beautiful LED indicator to control the power of X832 V1.2 and the Raspberry Pi 4 Model B
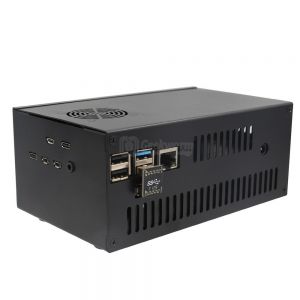
- Reserved Side Slot(Interface) for GPIO/FFC Cable
- Reserved Slot for X735 DC power Port, Microusb Port and Type-C Power Port(Don't plug any power adapter to X735)
- When use with X735 board, the power supply MUST only be connected to X832 DC 12V IN port NOT X735.
- When use X832 V1.2 with X735 board, please REMOVE the jumper caps on the X832 V1.2.
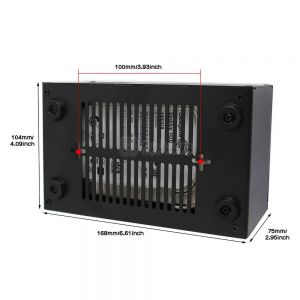
- VESA mount: 100mm
- Case Size(Installation): 168*104*75(mm) / 6.61 x 4.09 x 2.95 (inch);
- High quality metal material with surface galvanized process;
- Equipped with 2pin 4010 cooling fan in the case; But if use with X735 board, there is no need to use the cooling fan inside X832-C1 case.
Packing List
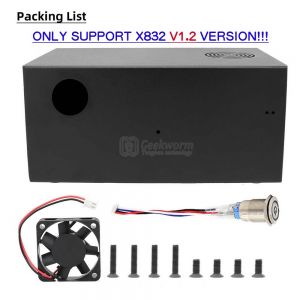
- 1x X832-C1 metal case for X832 V1.2
- 1x latching power control switch
- 1x 2pin 4010 cooling fan
- 1x Installation screws pack
User Manual
Note when use with X735 V3.0:
- 1. When use X832 with Raspberry Pi 4 only, use the latching switch to connect on X832 PWR SW port.
- 2. When use X832&X735 V3.0 with Raspberry Pi 4, use the momentary switch to connect on momentary switch port of X735 V3.0.
Installation Video for X832 V1.2 12V 3.5" SATA Shield+X735 V2.5+ X832-C1 Metal Case: https://youtu.be/yVxmb6SugJY
Enable comment auto-refresher