2.2 LCD
Contents
Introduction
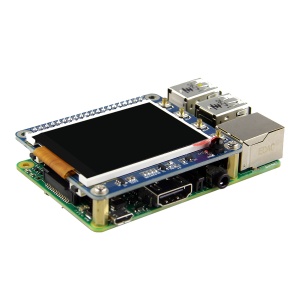
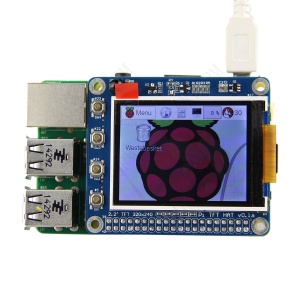
High PPI 2.2 inch TFT Display Shield for Raspberry Pi 3B/2B/B+/A+ With 6 Keyboards and Remote IR; It's fit to raspberry pi 3 model B 2B/B+/A+; with 6 customized button, with IR function. you can customize your button function for your application.
Features
- Demensions: 65mm x 56.5mm, it's a standard raspberry pi HAT expansion size;
- Resolution: 320 x 240, 2.2 inch, High PPI display screen;
- With 6 keyboards;
- With IR function;
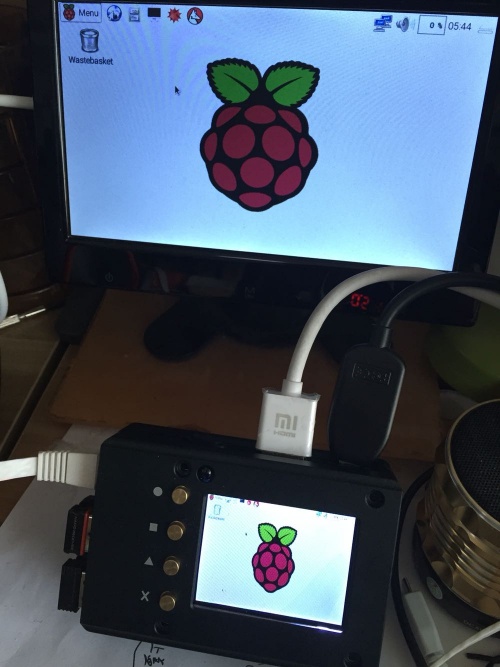
- Support official Raspberry pi case
How to use this LCD
Use the shell script (Recommend)
Please refer to Ugeek LCD user manual (NEW!)
sudo rpi-update
git clone https://github.com/geekworm-com/22LCD-script.git
cd 22LCD-script
chmod +x screen_setup.sh
sudo ./screen_setup.sh
or
sudo rpi-update
wget https://raw.githubusercontent.com/geekworm-com/22LCD-script/master/screen_setup.sh
chmod +x screen_setup.sh
sudo ./screen_setup.sh
Use the full IMAGE with driver
Down the image file from http://raspberrypiwiki.com/download/RPI-22-INCH-TFT/ , write the Image to micro SD card, after installing the system image to your SD card . wait for a minutes, the LCD can display.
How to use it on Raspbian OS
- Upgrade to the latest Kernel
sudo rpi-update
- Install the GPIO library and the driver
sudo apt-get install gcc python-pygame python-dev
sudo wget https://pypi.python.org/packages/source/R/RPi.GPIO/RPi.GPIO-0.5.11.tar.gz
sudo tar zxvf RPi.GPIO-0.5.11.tar.gz
cd RPi.GPIO-0.5.11
sudo python setup.py install
- Deploy config.txt file to enable I2C and SPI interface
sudo nano /boot/config.txt
#Apend the follwoing line:
dtparam=i2c_arm=on,spi=on
- Deploy modules, and start up the screen
sudo nano /etc/modules
fbtft_device name=pitft rotate=270 speed=48000000 fps=30
- Attention: Please ignore the step 3 and 4 if you use the latest official jessie system, only deploy the config.txt file
sudo nano /boot/config.txt
dtparam=i2c_arm=on,spi=on
dtoverlay=pitft28-resistive, rotate=270 speed=48000000 fps=30
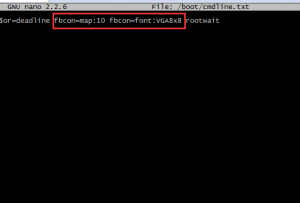
- Deploy cmdline.txt file to show the console
sudo nano /boot/cmdline.txt
#add this line before "rootwait"
fbcon=map:10 fbcon=font:VGA8x8
then save & reboot;
How to turn on/off backlight
gpio -g mode 27 in
gpio -g mode 27 out
How to enter Graph model
- Log in, then execute
sudo mv /usr/share/X11/xorg.conf.d/99–fbturbo.conf ~
sudo nano ~/.profile
#append the following line;
export FRAMEBUFFER=/dev/fb1
#then save & close ~/.profile file;
- Edit config file, and add screen device;
sudo nano /usr/share/X11/xorg.conf.d/99-pitft.conf
append the following line;
Section “Device”
Identifier "PiTFT"
Driver "fbdev"
Option "fbdev" "/dev/fb1"
EndSection
save & close this file;
- Config auto login in graph model via raspi-config
sudo raspi-config
select "Enable Boot to Desktop/Scratch", then select "Desktop log in as user ‘pi’ at the graphical desktop", then save & reboot;
then you can enter directly graph model;
for "2017-03-02-raspbian-jessie" version, please install a component using the command below; ==Added on 2017.03.09==
sudo apt-get install xserver-xorg-video-fbdev
How to DIY the six button
- Log in Raspberry by ssh and install related python and software
$sudo apt-get update
$sudo apt-get install libudev-dev
$sudo apt-get install python-pip
$sudo pip install rpi.gpio
$sudo pip install python-uinput
- Register the uinput module (You can add it to/etc/modules file, it’ll be registered automatically after powering)
$sudo modprobe uinput
- Download this sample (File:Python-keys.zip) and unzip it, and copy into raspberry. (NOTE: it's only a demo code, you can study it then develop your application.)
- Run the procedure of imitated keyboard or rocker, press the button and check it;
$sudo python rpi-2.2TFT-kbrd.py
or
$sudo python rpi-2.2TFT-jstk.py
or
$sudo python rpi-2.2TFT-mouse.py

Attention: uinput means uinput.KEY_XX (XX means Button. Take A for example, that is uinput.KEY_A)
Document & Download
- http://raspberrypiwiki.com/download/RPI-22-INCH-TFT/
- github
- DIY button sample code: File:Python-keys.zip;
- python-uinput Lib
- RPi.GPIO Lib
FAQs
Q: Is it support Dual screen display?
A: Yes,Support dual screen disply.
Cases
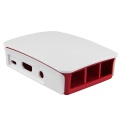
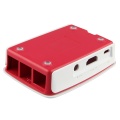
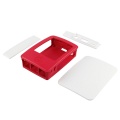
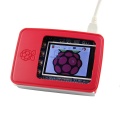
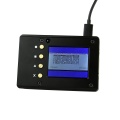
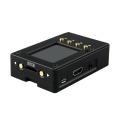
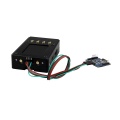
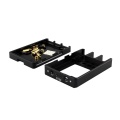
Raspberry Pi Official Case can refer to Raspberry Pi Official Case SKU:397320

Enable comment auto-refresher
Anonymous user #6
Permalink |
Anonymous user #5
Permalink |
Anonymous user #4
Permalink |
Harry
Anonymous user #3
Permalink |
Cindy
Anonymous user #2
Permalink |
Admin
Anonymous user #1
Permalink |