Difference between revisions of "X3000K"
m (Harry moved page X3000 Mini PC Kits to X3000K) |
(No difference)
|
Latest revision as of 16:35, 10 May 2022
Introduction
Basic Information
Material: Mirageblack tope panel, magnesium aluminum alloy body
Features
How to use
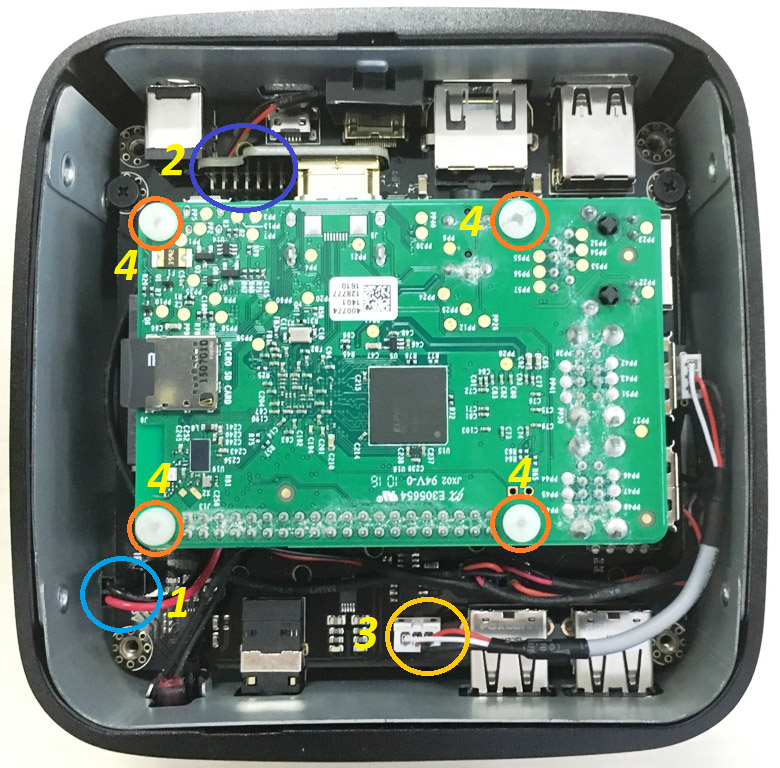
A. FITTING THE RASPBERRY PI
MSATA SSD SHOULD BE INSTALLED BEFORE FITTING THE RASPBERRY PI.
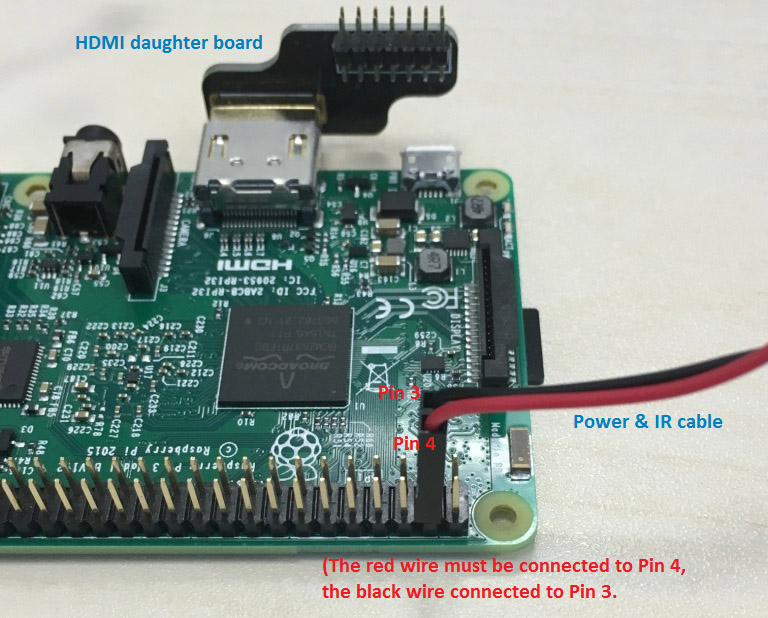
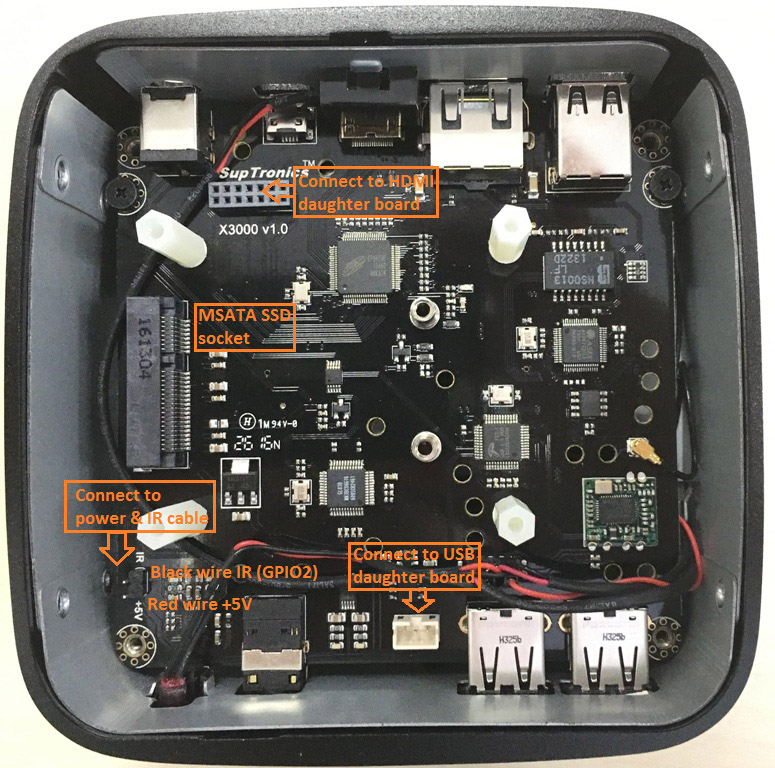
Step 1: Connect the power & IR cable from Raspberry Pi to the 2-pin male pin header
Sept 2: Plugs the HDMI daughter board into the 14-pin HDMI female pin header
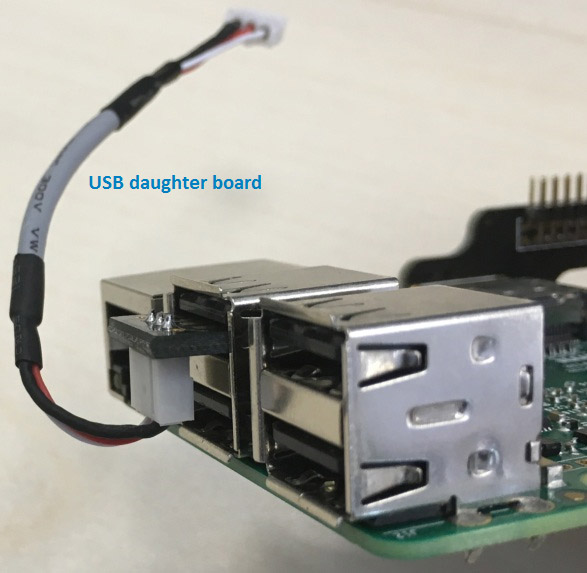
Step 3: Connect the cable of USB daughter board to the 3-pin PH connector
Step 4: Screwing the Raspberry Pi board
B. POWER ON/ OFF
TO TURN ON
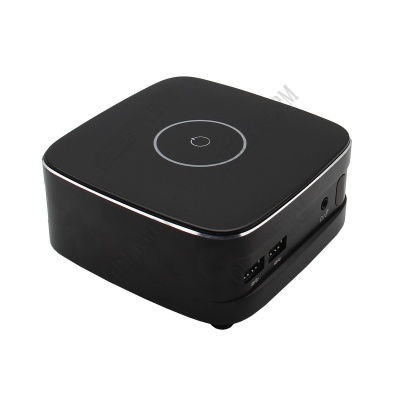
Touch the power symbol and hold until the colorful breathing light is ON.
TO SHUTDOWN
1. Power off your system using the system menu - IMPORTANT!
2. Touch the power symbol and hold until the colorful breathing light is OFF.
3. It is recommended to unplug the power supply unit when you are not using it.
Document
File:OPERATING SYSTEM CONFIGURATION - RASPBIAN JESSIE.docx
http://www.suptronics.com/miniPCkits/x3000_instructions.html
Packing List
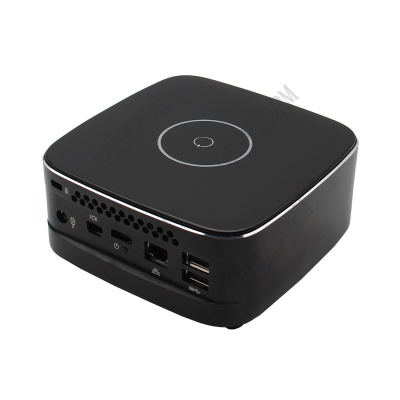
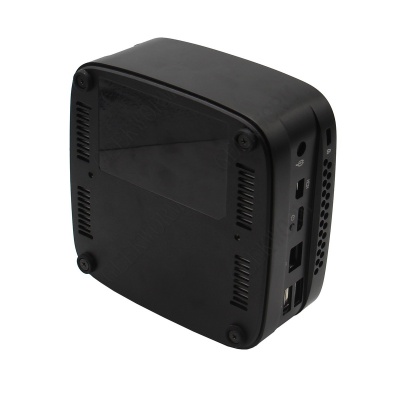
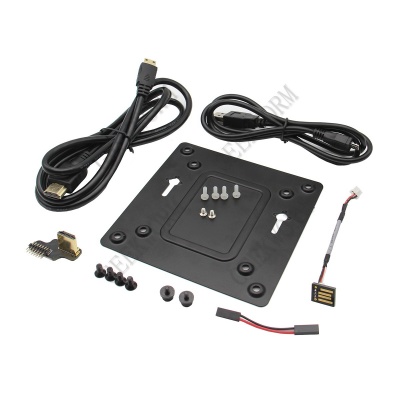
- 1 x Mini PC Kits
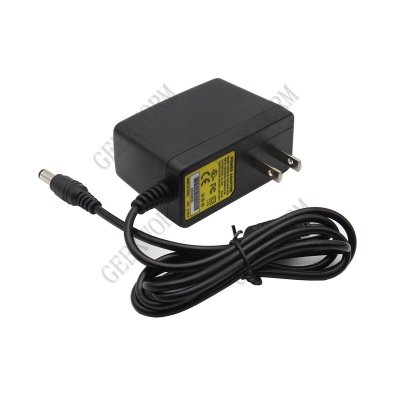
- 1 x Power Adapter(cable length: about 118cm)
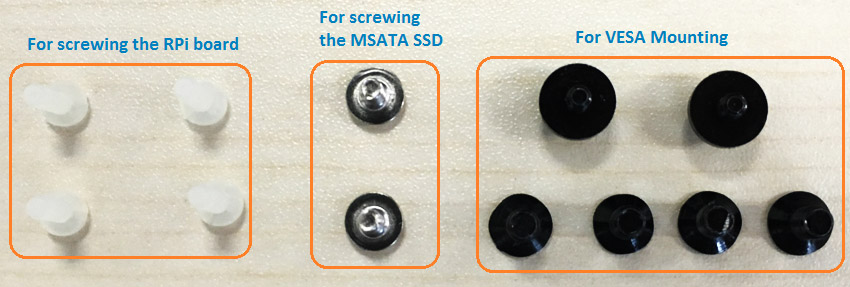
- 1 x Screw Kits
- 1 x Mini HDMI Cable (cable length: about 145cm)
- 1 x Micro USB Cable(cable length: about 93cm)
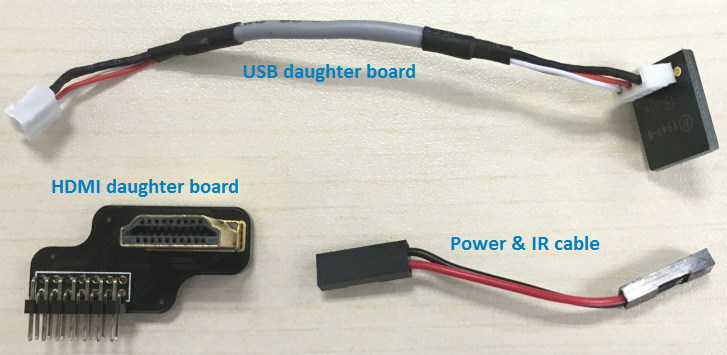
- 1 x HDMI daughter board
- 1 x USB daughter board
- 1 x Vesa
