X630-Software-Reset
X630 software reset model install instructions:
NOTE: Software reset is only applicable to X630 V1.3.
Notes & Known issues
(1) If using GStreamer or PiKVM, please change to Hardware reset mode. Otherwise, the X630 won't be detected and there will be no video.
(2) Currently the software reset mode can only support RASPISTILL or RASPIVID.
(3) If GStreamer is installed in Raspberry Pi OS, RASPISTILL & RASPIVID are no longer worked.
Preparations:
1. Once booted, update your Raspberry Pi by running the following commands in a terminal window:
sudo apt-get update
sudo apt-get upgrade -y
2. Run the following command to go into the Raspberry Pi configuration tool
sudo raspi-config
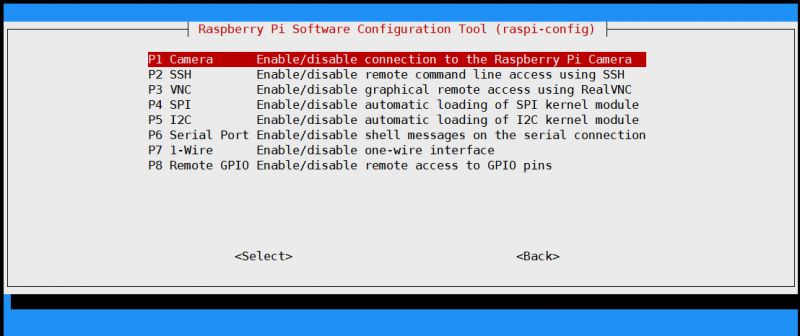
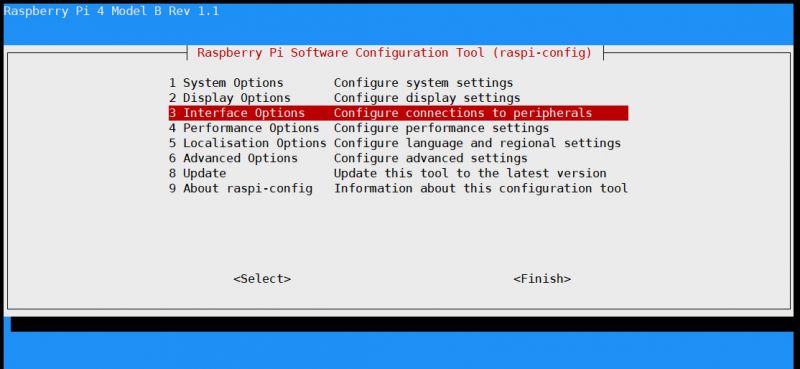
3. Navigate to 'Interfacing Options' and hit Enter. Now select the 'Camera' option, and hit the Enter key to enable it. Select “Finish” and select to reboot your Raspberry Pi.

Setting for Software Reset - Starting RASPISTILL or RASPIVID multiple times and no need to reboot Raspberry Pi
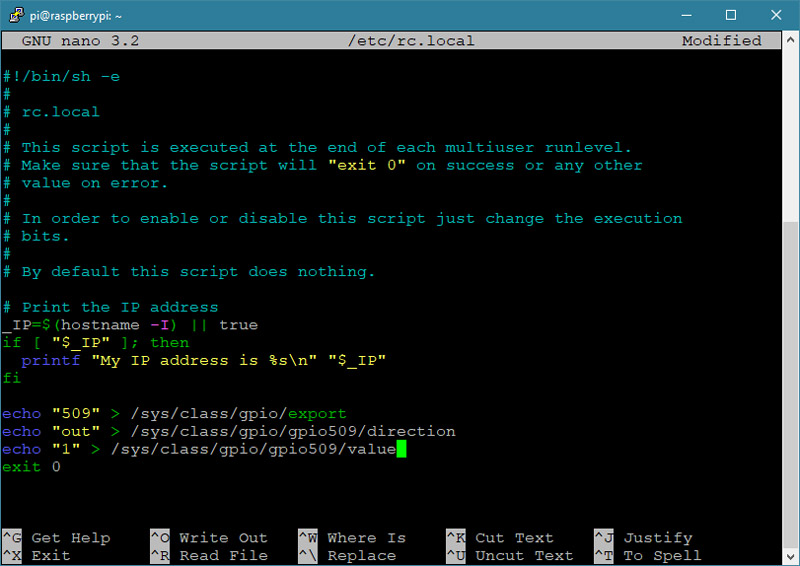
4. Once rebooted, You will need to edit /etc/rc.local to execute CAM GPIO initialization at startup
IMPORTANT PROCEDURE!!! Your X630 cannot work if this is not edited correctly.
sudo nano /etc/rc.local
Scroll down, and just before the exit 0 line, enter the following:
echo "509" > /sys/class/gpio/export
echo "out" > /sys/class/gpio/gpio509/direction
echo "1" > /sys/class/gpio/gpio509/value
Save and exit with ctrl + x, followed by y when prompted to save, and then enter.
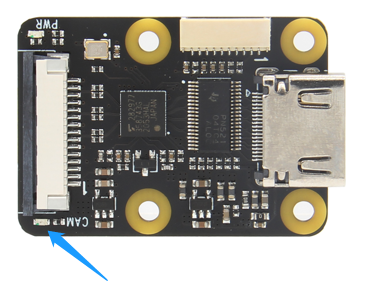
5. Reboot your Raspberry Pi to verify that the CAM LED lights up.
sudo reboot
6. Once rebooted, you need to make sure that the ‘/dev/video0’ device is available. Use this command to check:
ls /dev/video0
If you see anything other than ‘file not found‘, then it’s available.
7. Create a script to reset the X630 module
sudo nano reset.sh
enter the following:
echo "0" > /sys/class/gpio/gpio509/value
sleep 1
echo "1" > /sys/class/gpio/gpio509/value
Save and exit with ctrl + x, followed by y when prompted to save, and then enter.
8. Reboot your Raspberry Pi
sudo reboot
9. To take first photo with the X630 Module
sudo bash reset.sh
raspistill -o image1.jpg
Here, "image1" is the name of your image that will be saved to your Raspberry Pi
10. To take second photo with the X630 Module
sudo bash reset.sh
raspistill -o image2.jpg
Here, "image2" is the name of your image that will be saved to your Raspberry Pi.
11. Record first video with the X630 module
sudo bash reset.sh
raspivid -o video1.h264 -t 10000
Here, "video1" is the name of your video and "10000" is the number of milliseconds.
12. Record second video with the X630 module
sudo bash reset.sh
raspivid -o video2.h264 -t 10000
Here, "video2" is the name of your video and "10000" is the number of milliseconds.
Note: "sudo bash reset.sh" is always required to execute before starting RASPISTILL or RASPIVID. the CAM LED will go off for 1second then turn on.


Enable comment auto-refresher
Anonymous user #1
Permalink |