X630-Hardware
Jump to navigation
Jump to search
Interface
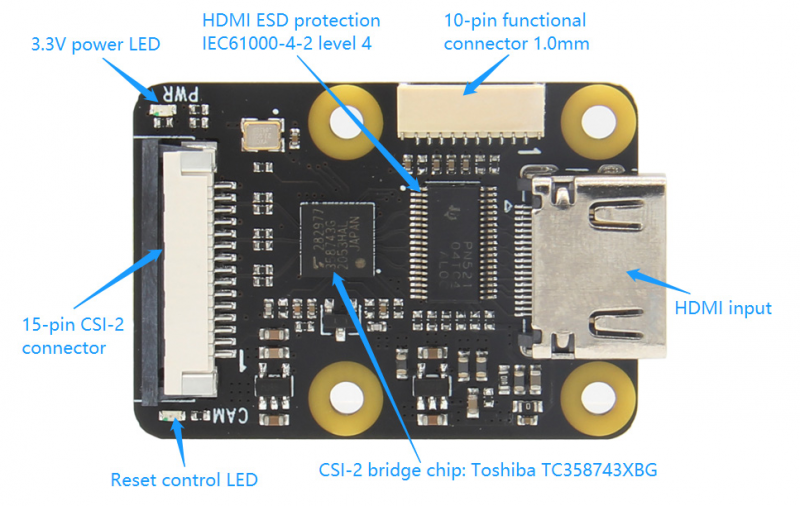
10-pin functional connector
| Pin No. | Pin Name | Function | Note |
|---|---|---|---|
| 1 | 3V3 | 3.3V output | 3.3V |
| 2 | HDET | HDMI input detect (high level ) | 3.3V |
| 3 | IR | Infrared signal | 3.3V |
| 4 | INT | Interrupt Output signal – active high (Level) | 3.3V |
| 5 | RESET | System reset input, active low | 3.3V |
| 6 | A_SCK | I2S/TDM Bit Clock signal (BCK) | 3.3V |
| 7 | A_WFS | I2S Word Clock or TDM Frame Sync signal (LRCK) | 3.3V |
| 8 | A_OSCK | Audio Oversampling Clock (MCLK) | 3.3V |
| 9 | A_SD | I2S/TDM data signal (Data) | 3.3V |
| 10 | GND | Ground | 0V |
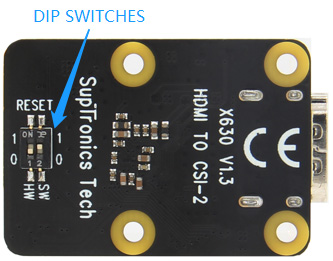
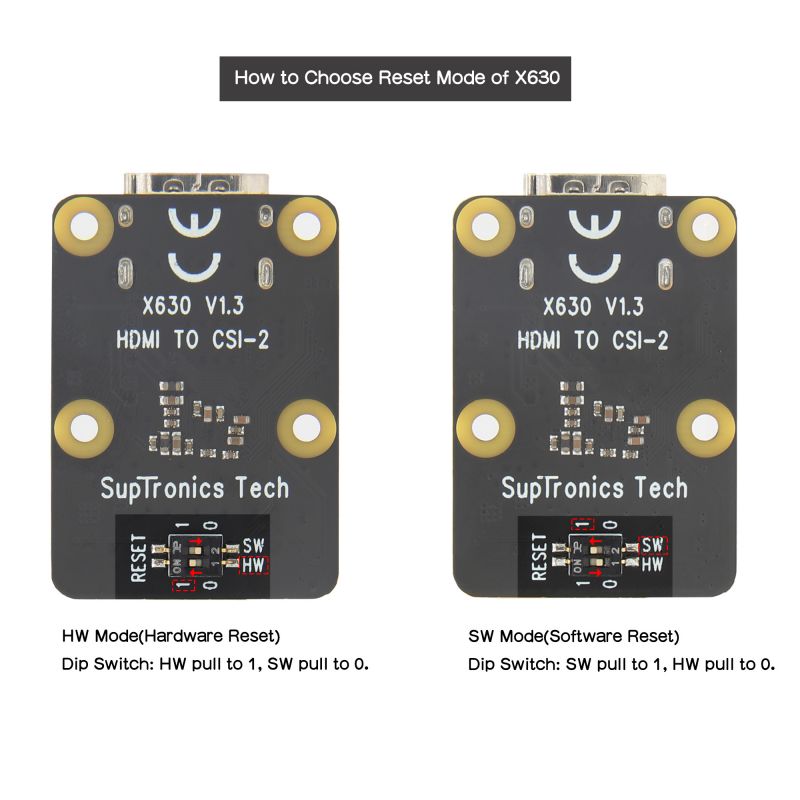
X630 Reset Setting
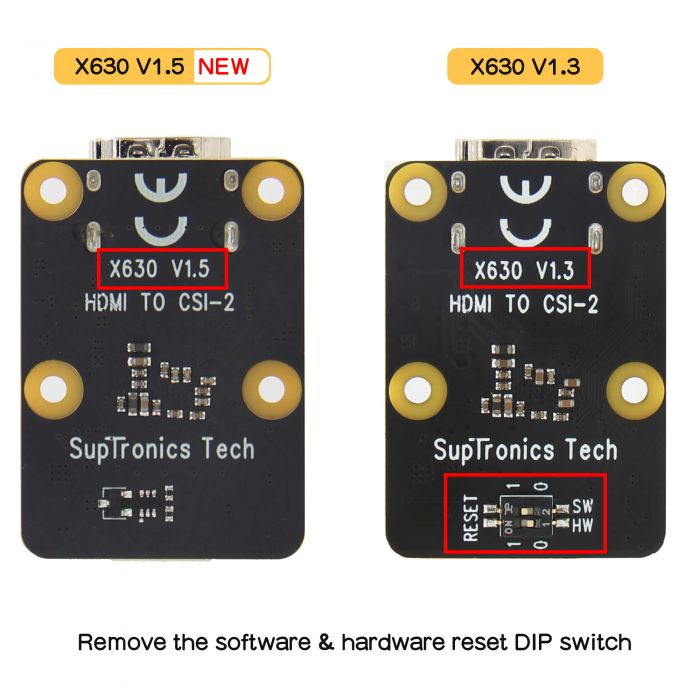
Note: Software reset only exists in V1.3 version, this function is no longer reserved in V1.5
| SELECTION | SWITCH SETTINGS | |
|---|---|---|
| Hardware reset | HW = 1 | SW = 0 |
| Software reset | HW = 0 | SW = 1 |
Explain:
- Hardware reset: After starting RASPISTILL or RASPIVID once then you will need to reboot Raspberry Pi to restart it again (Please use when operating system cannot control the X630 module via GPIO509)
- Software reset: Starting RASPISTILL or RASPIVID multiple times and don't need to reboot Raspberry Pi
- Default setting is 'Hardware reset';
- Please remove the yellow protective film before change dip switch.
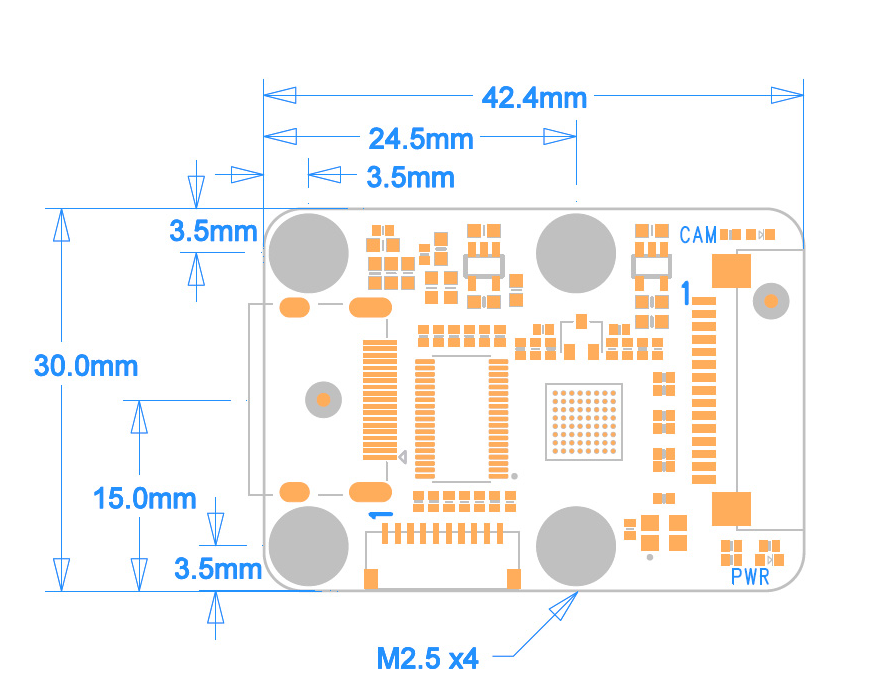
Mechanical Drawing
Return to X630
Enable comment auto-refresher