How to Format and Mount the HDD/SSD on Raspberry Pi
1. Install Gparted tool on Raspberry Pi
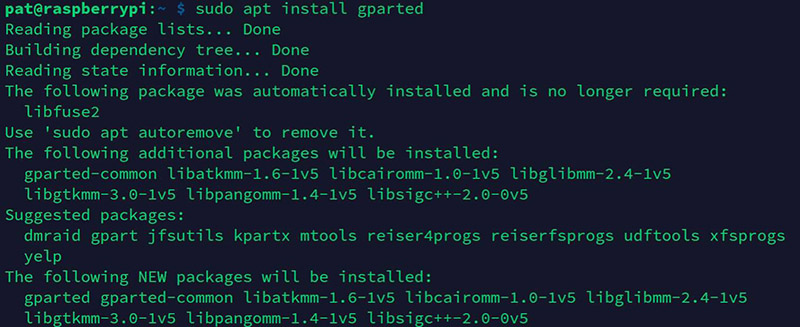
You can either use a terminal, and simply use the following commands:
sudo apt update
sudo apt install gparted
Or via the graphical tool (“Add/Remove Software”), open the package manager and look for Gparted:
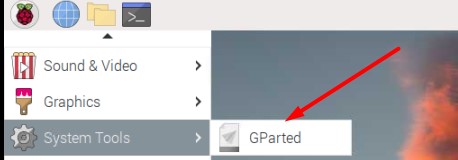
Check the box corresponding to gparted, and click “Apply” to start the installation, once installed, Gparted should be available in the main menu, under System Tools:
2. Use Gparted on Raspberry Pi
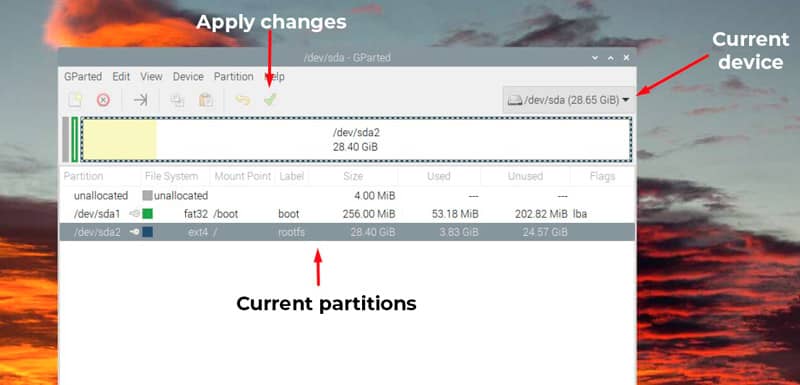
When you start Gparted, you need to type your password (administrator privileges are required). Then, you’ll get an interface looking like:
Start by picking the disk you want to modify in the top-right corner.
Reminder: It’s not possible to make changes on the disk you are currently using. You have to install Raspberry Pi OS on another device, and then plug the drive you want to edit.
Once done, you can change anything with a right-click on the partition name or in the graphical representation. I will show you how to resize a partition or create a new one.
Resize a partition
You need to unmount the partition before resizing it. That’s why you can resize the system partition once the system is loaded. As Raspberry Pi OS will automatically mount all partitions, the first step is to right-click on it, and choose “Unmount”:


Enable comment auto-refresher
Anonymous user #1
Permalink |