7 inch HDMI LCD (H)
Contents
Introduction
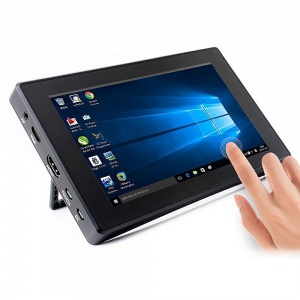
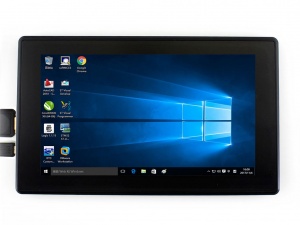
1024×600, 7 inch Capacitive Touch Screen LCD, HDMI interface, supports various systems Toughened glass capacitive touch panel, 6H hardness
Features
- 7inch IPS screen, 1024x600 physical resolution, configurable by software (up to 1920x1080)
- Toughened glass capacitive touch panel, 6H hardness
- Supports popular mini PC such as Raspberry Pi, Beaglebone Black, Banana Pi, NVIDIA Jetson Nano Developer Kit etc.
- Used with Raspberry Pi, supports Raspbian, Ubuntu, WIN 10 IOT, single touch and driver free
- Used as a computer monitor,Supports Windows 10 / 8.1 / 8 / 7, five-point touch, free drive
- Multi languages OSD menu, for power management, brightness/contrast adjustment, etc
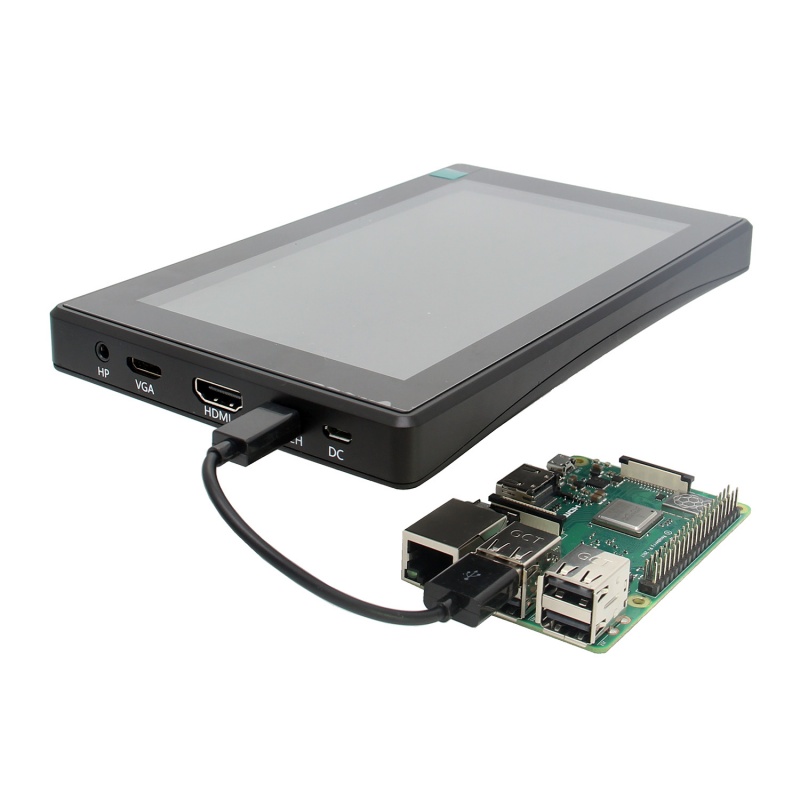
- 3.5mm audio jack, supports HDMI audio output
- Supports VGA input (specific cable is required and should be purchase separately)
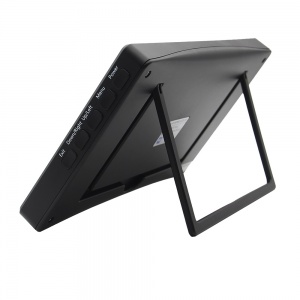
- High quality PC case, optional tilt angle: 30°/50°
Working with PC
This product supports Windows 10/8.1/8/7 OS.:
1. Connect the TOUCH interface of LCD to the USB interface of PC . Waiting for a moment, The touch will be recognized by Windows automatically.
2. If you use HDMI, you need to connect the HDMI interface of LCD to the HDMI port of PC. About 5s later, you can see that the LCD display properly. If you need the audio, if you insert a 3.5mm earphones to HP ports.
3. Use VGA,you need to connect the VGA interface of LCD to PC's VGA ports by Mini HDMI to VGA Cable
Note:
1) If multi screen are connected to one PC at the same time, you can only control the cursor by this LCD, so please set the LCD as main screen.
2) Some of PC cannot support HDMI screen Hot Plug . In this case, restart the PC can solve.
3) Sometimes LCD will flicker because of undersupply from USB cable of PC. You need to connect an external power supply (5V/2A) to DC port.
4) HP audio output only works while using HDMI communication
5) Mini HDMI to VGA Cable is necessary and need to be purchased separately if you use VGA communication.
Working with Raspberry Pi
Supports Raspbian/Ubuntu mate/Windows 10 iot Core
When working with Raspberry Pi, you should set the resolution of the LCD by yourself, or else the LCD screen will not work. For more detail information, please read the following section.
Download the Raspbian image from Raspberry Pi web site. Write the image to a TF card and append the following lines to the config.txt file which is located in the root of your TF card:
max_usb_current=1
hdmi_force_hotplug=1
config_hdmi_boost=10
hdmi_group=2
hdmi_mode=87
hdmi_cvt 1024 600 60 6 0 0 0
You must make sure that there are no spaces on either side of the equal sign.
Connect the Touch interface of LCD to USB port of Raspberry Pi
Connect HDMI interface of LCD to HDMI port of Raspberry Pi
Save and connect the TF card to your Pi then power up.
How to connect to use Touch Function
Rotate
Display rotation
Add a statement in the config.txt file (the config file is located in the root directory of the TF card, ie /boot):
display_rotate=1 #1:90;2: 180; 3: 270
Save and restart the Raspberry Pi.
sudo reboot
Touch rotation
1.After the display rotation, the touch position is not correct because the touch does not change with the display angle. So you need to make changes to the touch.
Install libinput
sudo apt-get install xserver-xorg-input-libinput
2. Create the xorg.conf.d directory under /etc/X11/ (if the directory already exists, proceed directly to step 3)
sudo mkdir /etc/X11/xorg.conf.d
3.Copy the 40-libinput-conf file to the directory you just created.
sudo cp /usr/share/X11/xorg.conf.d/40-libinput.conf /etc/X11/xorg.conf.d/
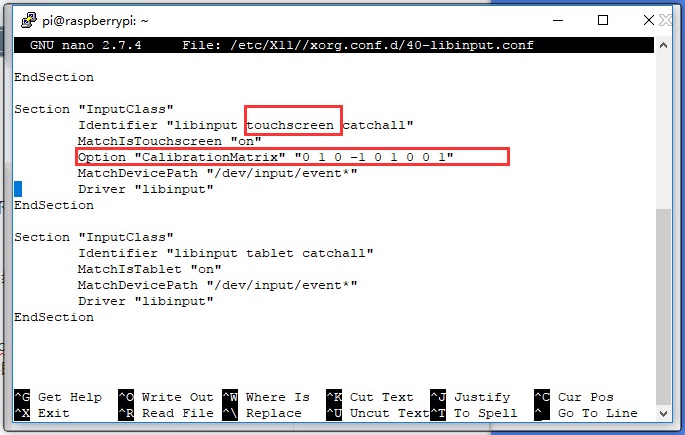
4.Edit the file. Find the part of the touchscreen. Add the following statement inside and save it.
Option "CalibrationMatrix" "0 1 0 -1 0 1 0 0 1"
For example:
5. Restart the Raspberry Pi
sudo reboot
Complete the above steps to perform a 90 degree rotation.
Note:
90 degree rotation: Option "CalibrationMatrix" "0 1 0 -1 0 1 0 0 1"
180 degree rotation: Option "CalibrationMatrix" "-1 0 1 0 -1 1 0 0 1"
270 degree rotation: Option "CalibrationMatrix" "0 -1 1 1 0 0 0 0 1"
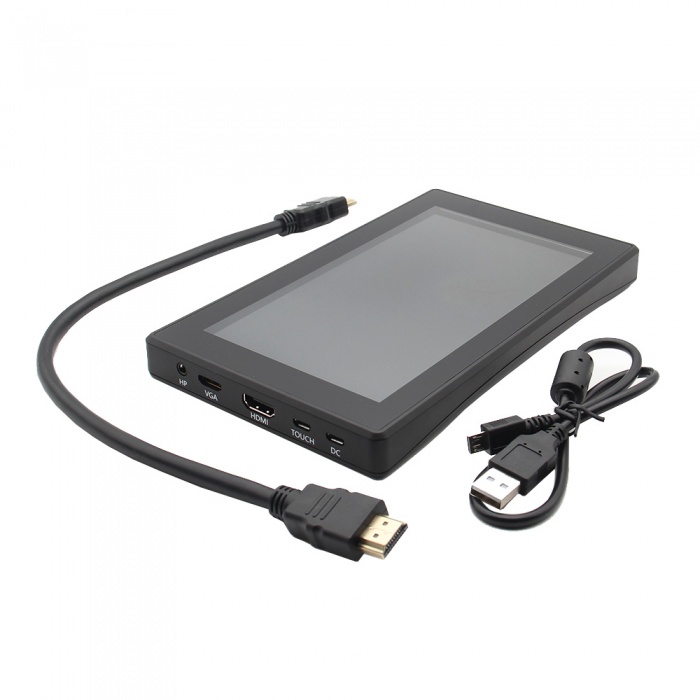
Packing List
User Manual & Document Download
Please refer to Download Link

Enable comment auto-refresher
Anonymous user #3
Permalink |
Anonymous user #2
Permalink |
Admin
Anonymous user #1
Permalink |
Admin