CSI Audio Video capturing using GStreamer
This article describes how the X630 can be combined with the X630-A2 to capture stereo sound Audio and Video using GStreamer
Capturing stereo audio with the X630-A2 from the HDMI source is supported.
If you need to run RASPISTILL or RASPIVID again after the GStreamer is installed. You will need to reinstall a fresh Raspberry Pi OS and follow this guide
1. After the device is booted, update your Raspberry Pi by running the following commands in a terminal window:
sudo apt-get update
sudo apt-get upgrade -y
2. Install necessary dependency and remaining plugins for GStreamer
sudo apt-get install libx264-dev libjpeg-dev
sudo apt-get install libgstreamer1.0-dev libgstreamer-plugins-base1.0-dev libgstreamer-plugins-bad1.0-dev gstreamer1.0-plugins-ugly gstreamer1.0-tools
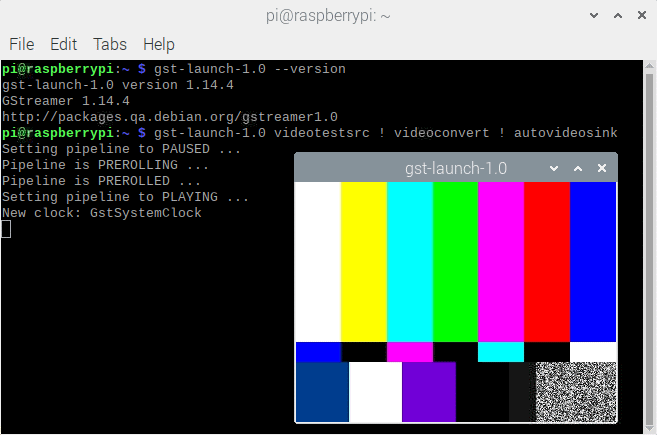
3. With all GStreamer modules installed let's test the installation with (not via SSH)
gst-launch-1.0 --version
gst-launch-1.0 videotestsrc ! videoconvert ! autovideosink
4. Edit /boot/config.txt and enter the following
sudo nano /boot/config.txt
Then add the following comments:
dtoverlay=tc358743
dtoverlay=tc358743-audio
dtoverlay=cma,cma-128
Save and exit with ctrl + x, followed by y when prompted to save, and then enter.
5. Reboot the Raspberry Pi
sudo reboot
6. Once rebooted and check that the audio drivers / card is available to ALSA.
arecord -l
If the X630 module and drivers have been installed correctly you should see something similar to:
Note: card 2 means that the card number for the TC358743XBG is "2" and it might be different.
7. Create an EDID file so it can be loaded into the chip to allow it to tell the HDMI source what resolutions are supported.
sudo nano edid.txt
then enter the following:
00ffffffffffff005262888800888888
1c150103800000780aEE91A3544C9926
0F505400000001010101010101010101
010101010101011d007251d01e206e28
5500c48e2100001e8c0ad08a20e02d10
103e9600138e2100001e000000fc0054
6f73686962612d4832430a20000000FD
003b3d0f2e0f1e0a202020202020014f
020321434e041303021211012021a23c
3d3e1f2309070766030c00300080E300
7F8c0ad08a20e02d10103e9600c48e21
0000188c0ad08a20e02d10103e960013
8e210000188c0aa01451f01600267c43
00138e21000098000000000000000000
00000000000000000000000000000000
00000000000000000000000000000028
Save and exit with ctrl + x, followed by y when prompted to save, and then enter.
8. Push this to the device using
v4l2-ctl --set-edid=file=edid.txt --fix-edid-checksums
9. To print the currently detected timings
v4l2-ctl --query-dv-timings
10. To select the currently detected timings
v4l2-ctl --set-dv-bt-timings query
11. Capture the incoming audio (no video)
arecord -D hw:x,0 -V stereo -r 48000 -f S16_LE -c 2 audio.wav
Note: hw:x - You must replace "x" with correct audio card number.
Press ctrl + c to finish a recording, the file will be saved to /home/pi
12. Capture the incoming video and audio
gst-launch-1.0 v4l2src io-mode=0 ! video/x-raw, format=UYVY, framerate=25/1 ! v4l2h264enc output-io-mode=4 ! video/x-h264,profile=high ! h264parse ! queue ! matroskamux name=mux ! filesink location=video.mkv alsasrc device=hw:2 ! audio/x-raw,rate=48000,channels=2 ! audioconvert ! avenc_aac bitrate=48000 ! aacparse ! queue ! mux.
Note: alsasrc device=hw:2 - "2" means the audio card number, You must change to correct audio card number.
Press ctrl + c to finish a recording, the file will be saved to /home/pi


Enable comment auto-refresher