Contents
Introduction
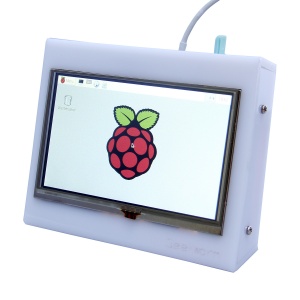
5 inch HDMI TFT LCD Touch Screen Shield (800 x 480) for Raspberry PI 3 Model B / 2B / B+ / A+ / B
Features
- 5inch standard display, 800 × 480 resolution
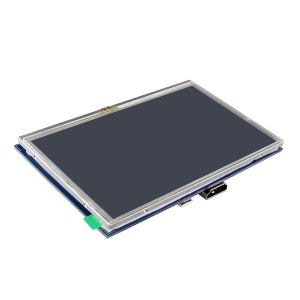
- With resistive touch screen, support touch control
- support backlight control alone, the backlight can be turned off to save power
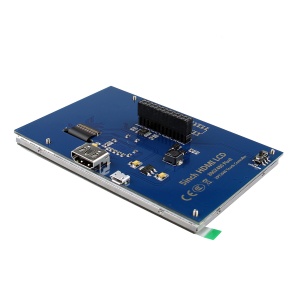
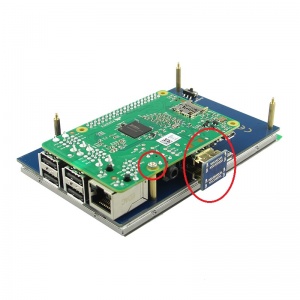
- supports standard HDMI interface input, compatible with and can be directly inserted with Raspberry Pi (3rd, 2nd, and 1st generation)
- can be used as general-purpose-use HDMI monitor, for example: connect with a computer HDMI as the sub-display (resolution need to be able to force output for 800 x480)
- used as a raspberry pie display that supports Raspbian, Ubuntu, Kodi, win10 IOT(resistive touch)
- work as a PC monitor, support XP,win7, win8, win10 system(do not support touch)
- CE, RoHS certification
Key Parameters
- Size: 5.0(inch)
- SKU: MPI5008
- Resolution: 800×480(dots)
- Touch: 4-wire resistive touch
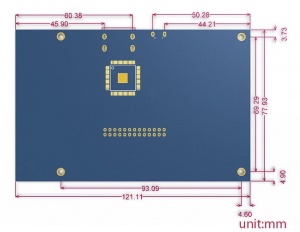
- Dimensions: 121.11*77.93(mm)
- Weight: 175(g)
How to use this LCD
How to use with Raspbian/Ubuntu Mate/Win10 IoT Core System
Step 1, Install Raspbian official image
Download the latest image from the official download.
Install the system according to the official tutorial steps.
Step 2, Install LCD Driver Online
Use SSH to connect the raspberry pi,
And Ensure that the raspberry pi is connected to the Internet before executing the following commands:
sudo rm -rf LCD-show
git clone https://github.com/goodtft/LCD-show.git
chmod -R 755 LCD-show
cd LCD-show/
sudo ./LCD5-show
How to use as PC monitor:
- Connect the computer HDMI output signal to the LCD HDMI interface by using the HDMI cable
- Connect the LCD's USB Touch interface (Either of the two MicroUSB) to the USB port of the device
- If there are several monitors, please unplug other monitor connectors first, and use LCD as the only monitor for testing.
Document & Download
Please refer to here
Packing List
- 1 x LCD module(with install screws)
- 1 x HDMI connector
- 1 x Touch pen
Enable comment auto-refresher
Hierophant
Permalink |
Bennysthe1
Permalink |
Cindy
Anonymous user #1
Permalink |
Cindy