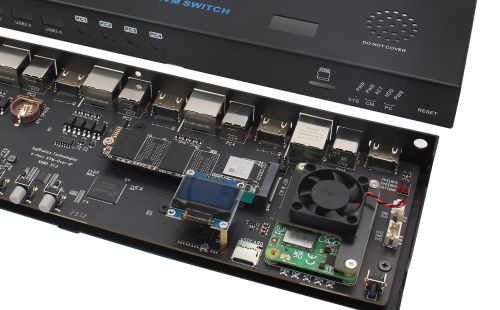
Test Case
Flash OS image
First, decide which CM4 module you wish to use:
- CM4 without eMMC (simpler, but you need a 16GB or 32GB micro sd)
- CM4 with eMMC (requires additional steps)
Option 1: CM4 without eMMC
- 1. Prepair flash tools:
- You can use Raspberry Pi Imager or one of the following tools:
- balenaEtcher: Compatible with Windows, macOS, and Ubuntu.
- Win32 Disk Imager: Designed for Windows.
- 2. Flash the OS Image to a MicroSD Card
- 3. Power the Device
- Power on your device, then open a browser and log in to the PiKVM web UI.
Option 2: CM4 with eMMC (requires additional steps)
- 1. Prepare for Flashing
- Short the nBOOT Pin as shown in the image below.
- 2. Connect X680 to Your Computer
- Use a Type-A to Type-B USB cable to connect the CM4 USB port to your computer.
- 3. Power the Device
- Use a 5V power adapter to power the device via the PWR DC Jack.
- 4. Flash the OS Image
- You need: i) install rpiboot utility, ii) install RaspberryPI imager iii) format the eMMC once connected to the host, iv) select OS, eMMC appearing on the host and flash it via imager
- You can refer to Jeff's tutorial or Raspberry Pi Official Tutorial for detailed instructions on flashing the OS.
- 5. Complete the Process
- Remove the nBOOT jumper after the flashing is complete, then restart your device.
Note: For CM4 with eMMC, the SD card cannot be used.
Raspberry Pi AI document:
https://www.raspberrypi.com/documentation/accessories/ai-kit.html
https://www.raspberrypi.com/news/raspberry-pi-ai-kit-available-now-at-70/

